


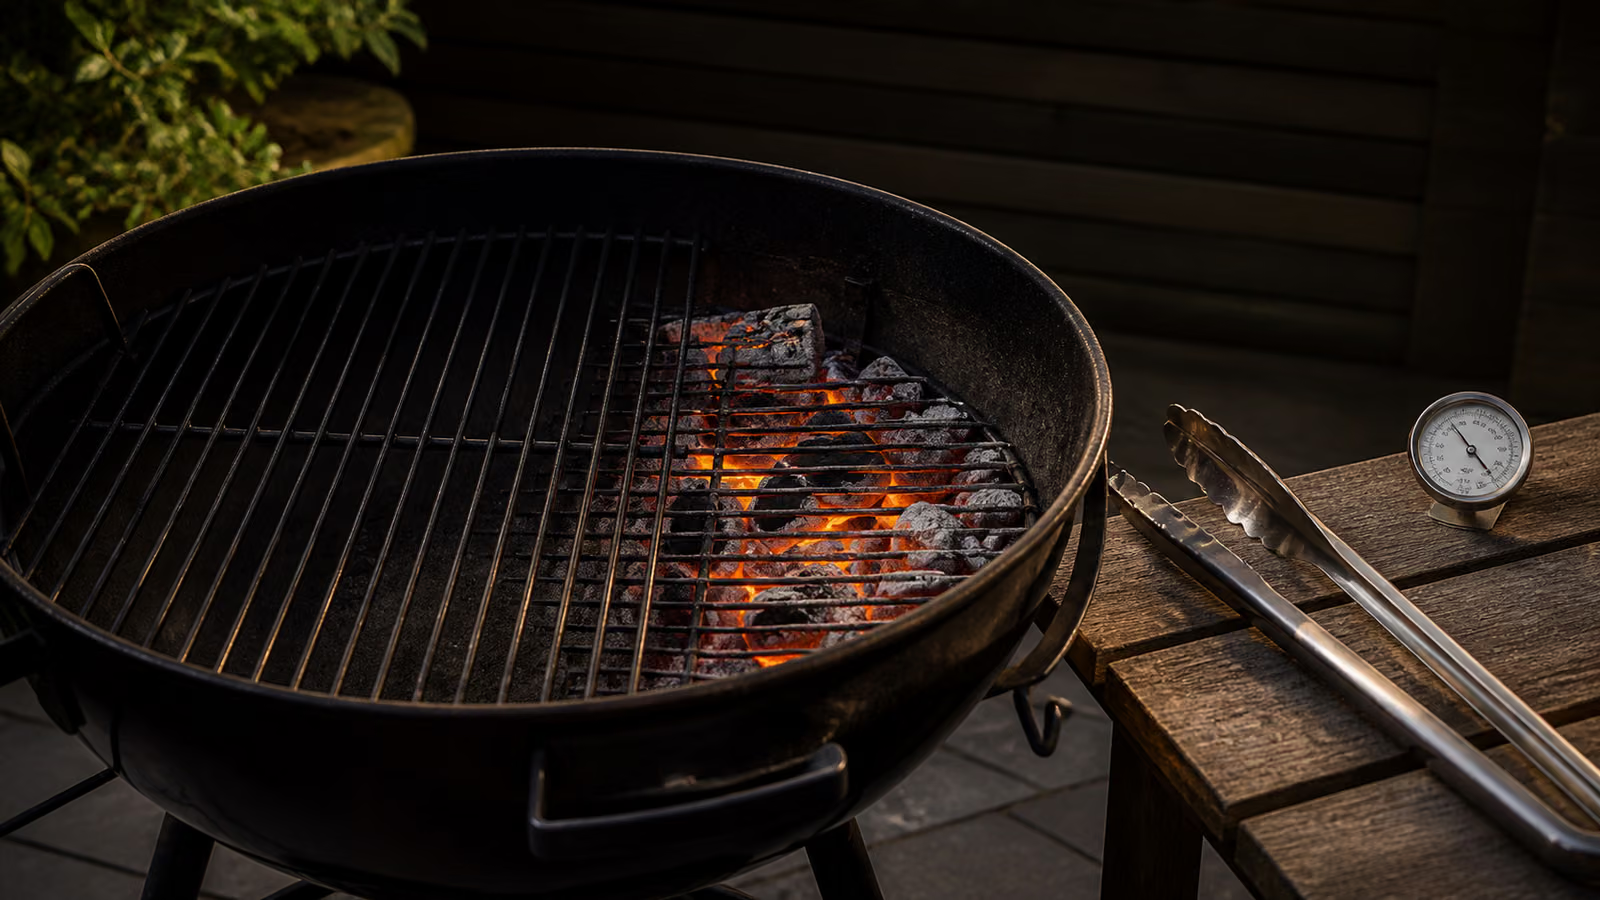
To temper a Himalayan salt block, start with a dry plate on a cold heat source and hold it for 15 minutes each at 200 F, 250 F, 300 F, 400 F, and 500 F. The full first temper takes about 75 minutes. It drives hidden moisture out slowly so the stone does not crack.
Key takeaways
- Heat a salt cooking plate in stages before its first high heat use.
- Use five 15 minute stages: 200 F, 250 F, 300 F, 400 F, and 500 F.
- The full first temper takes about 75 minutes. Later sessions can take 30 to 45 minutes.
- Heating too fast is the most common cause of a cracked salt plate.
- Light ticking can be normal, especially around 300 F. A single sharp crack means reduce the heat and hold for 10 minutes.
- A tempered plate stays dangerously hot for several hours after the heat is turned off.
- An oven tempers more evenly than a single burner because it heats the whole plate at once, not just one face.
The five stage tempering schedule
| Stage | Temperature | Hold | What is happening |
|---|---|---|---|
| 1 | 200 F | 15 min | Surface and near-surface moisture starts to leave. The most important stage. |
| 2 | 250 F | 15 min | The cooler center catches up with the warmer surface. |
| 3 | 300 F | 15 min | Light ticking is common as the crystal grain adjusts. |
| 4 | 400 F | 15 min | The plate now holds real heat. Use heat resistant gloves from here on. |
| 5 | 500 F | 15 min | Working temperature for searing. |
On a gas burner, stage 1 is the lowest flame. In an oven, set the dial to each temperature in turn. On a grill, start on the indirect side and move over direct heat only for stage 5.
Why does a salt block need tempering?
Halite, the mineral a salt block is cut from, holds a small amount of moisture inside its crystal grain. You cannot see or feel it. Heat that moisture too fast and it turns to steam before it can escape. Steam takes up far more space than water, and the pressure inside the dense stone is what splits a plate, usually along a natural fracture line.
Each 15 minute hold solves this two ways. It gives moisture time to reach the surface and leave as vapor, and it lets the cooler center of the stone catch up with the hotter surface, so the whole plate expands at close to the same rate.
Do you have to temper a salt block every time?
Not at the same slow pace. The full 75 minute schedule matters most on the first use, when the stone holds the most moisture and has never expanded under heat. After that, you can move through the same five stages in 30 to 45 minutes, depending on the plate size and heat source.
What never changes is the order. Always start cold and climb through the stages. Never set a cold plate on a hot burner or grill.
Sources disagree on this point. Some grill makers describe a one time temper of several hours, while other salt specialists skip a separate temper and simply heat slowly every time. Our position sits between them: a slow first temper costs little and protects the plate, and every later cook still gets a staged heat-up. As a rule of thumb, never raise the heat by more than about 100 F every 15 minutes.
Can you temper a salt block in the oven?
Yes, as long as the plate goes into a cold oven. Place the dry plate on the center rack, set the oven to 200 F, and raise the setting through the five stages as the oven and plate warm together. An oven surrounds the plate with heat, so it tempers more evenly than a single burner ring. That makes it a good choice for a first temper.
Never put a room temperature plate into a preheated oven, and skip the broil setting, which heats only the top face.
Tempering on a grill
Charcoal and gas grills work, but they hold a steady low temperature less precisely than an oven. Start with the plate on the indirect side, away from flame or coals, and use the lid thermometer or an infrared thermometer to follow the stages. Move to direct heat only in the final stage. Charcoal takes longer to settle than gas, so allow extra time for stages 1 and 2. A grill that is already hot does not shorten the schedule.
How do you know a salt block is hot enough?
Aim an infrared thermometer at the center of the plate. It is the most reliable check, and it should read about 500 F before you sear. Without one, flick a few drops of water on the surface. At working temperature they skate and vanish within a second or two. If they sit and simmer, give the plate more time.
What do the sounds mean?
Light ticking or a faint crackle, most common around 300 F, is normal. It is the grain adjusting as the last moisture leaves. A single loud crack is different. It means one part of the plate expanded faster than the part next to it. Lower the heat and hold at the current stage for 10 extra minutes before going on. If a visible line runs through the plate, stop heating and let it cool where it is. See why salt plates crack.
What you need
- A dry salt cooking plate
- A gas burner, oven, or grill (not induction or glass top)
- Heat resistant gloves for stage 4 onward
- An infrared thermometer (optional but useful)
- A metal diffuser or cast iron holder (needed on an electric coil)
After you finish cooking
Turn off the heat and leave the plate where it is. An 11 pound plate at 500 F stores a lot of energy and stays hot for several hours. Moving it risks burns, drops, and thermal shock. Once it reaches room temperature, scrape, wipe once with a barely damp cloth, and dry it fully. Never set a hot plate on a cold or wet counter, and never run water over it. Our cleaning and storage guide covers each step.
Common tempering mistakes
- Starting on high heat. The single most common cause of a cracked plate.
- Heating a damp plate. Always let a cleaned plate dry for 24 hours first.
- Thermal shock. A cold plate on a hot grate, or a hot plate on a cold counter.
- Heating straight from the freezer. Let a chilled plate return to room temperature first.
- Damp storage. A humid cupboard lets moisture back into the stone between uses.
Once your plate is tempered, try your first cook or the salt block scallops recipe.
FAQ
Questions, answered
About 75 minutes for a first temper. Later sessions take 30 to 45 minutes depending on the plate size and heat source.
Flick a few drops of water on the surface. At working temperature they skate and vanish in a second. An infrared thermometer is more reliable.